
If your Silhouette Cameo 3 cuts are not clean and accurate, you may notice jagged edges or missing parts of your design when peeling the material off the mat. This issue can make crafting frustrating, which is why calibration becomes necessary.
Calibrating your Silhouette cutting machine ensures that the blade and mat are properly aligned, allowing every cut to be sharp and precise. Think of it as resetting the machine’s accuracy so it cuts exactly where it should.
Now, the question is – how do you calibrate your Silhouette Cameo 3? We have laid out all the steps for you, but before diving in, let’s quickly review a few important things to keep in mind.
Things to Know Before Calibrating Silhouette Cameo 3
Here are a few things that you need to know before starting the “Silhouette machine calibration process“:
Update Silhouette Studio to the Latest Version
You must work on the newest version of the Silhouette Studio Software. The latest updates include important bug fixes, calibration improvements, and compatibility updates with your machine. An outdated Silhouette Studio version may cause misalignment or missing features problems.
Use Good Lighting and Keep Sensors Clean
Work in a well-lit area so that the machine can detect marks accurately. Also, make sure that the machine’s optical sensor is clean. If the sensor is dirty, it might misread registration marks.
Load the Paper Correctly
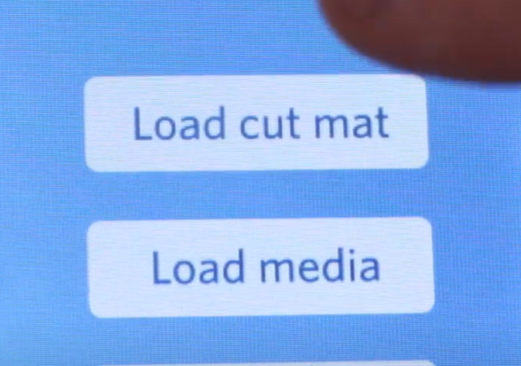
Misalignment can result in incorrect cuts. You must align the sheet exactly along the left guide mark on the cutting mat. Load the mat straight and securely using the Load Cut Mat option from the touch screen menu.
Common Issues During Silhouette Cameo 3 Calibration
Be watchful of these common issues that might occur when calibrating your Silhouette Cameo 3 machine:
- The machine is not connected to the computer properly
- Incorrect material loading
- Wrong print settings
- A dull blade or a heavily used mat
Steps to Calibrate Your Silhouette Cameo 3
Follow these simple steps to calibrate your Silhouette cutting machine the right way:
Step 1: Open the “Silhouette Studio Software” on your computer.

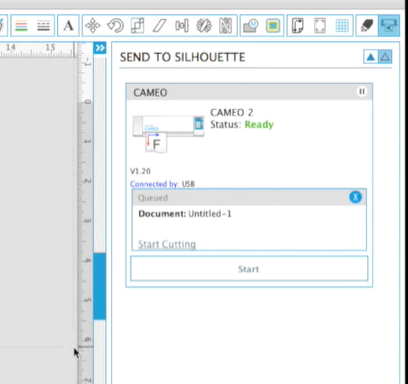
Step 2: Go to the Send to Silhouette icon and click on the Start button.
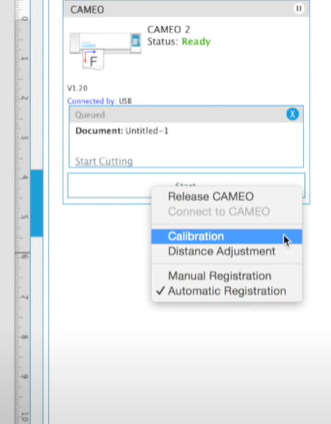
Step 3: You’ll see Calibration and Distance Adjustment options.
Step 4: Click on Calibration to start the Print and Cut Calibration.
Step 5: A test page will appear in your work area.
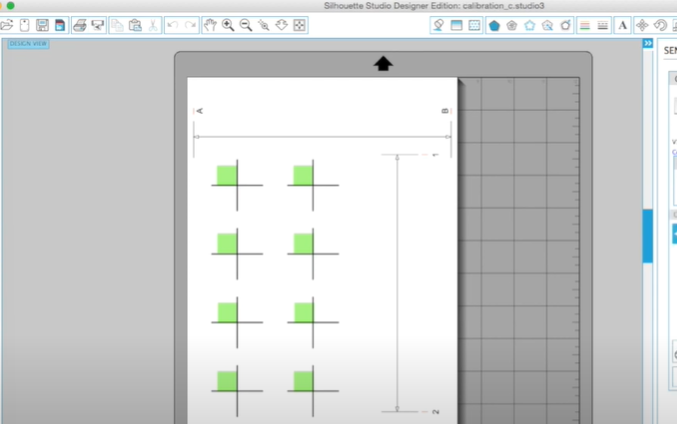
Step 6: You will see crosses with green squares (these won’t be printed). The blade will align itself using these green squares.
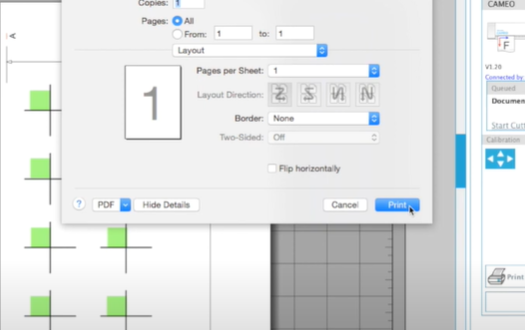
Step 7: Now, you must select your printer from the list.
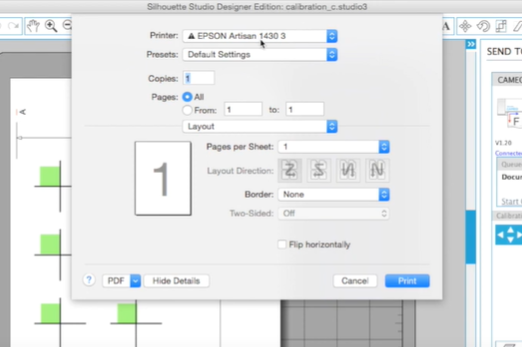
Step 8: After doing that, click on the Print button.
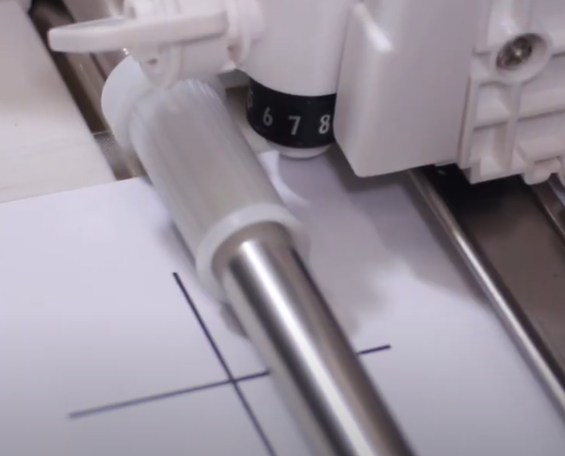
Step 9: Once that is printed, place the paper on the mat exactly as you see it.
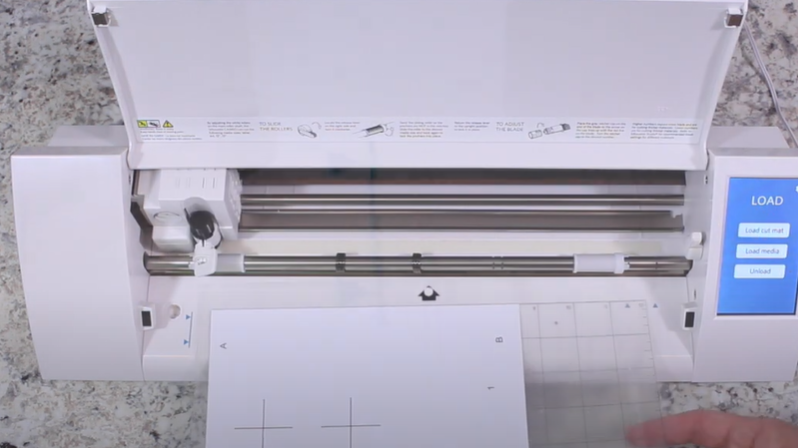
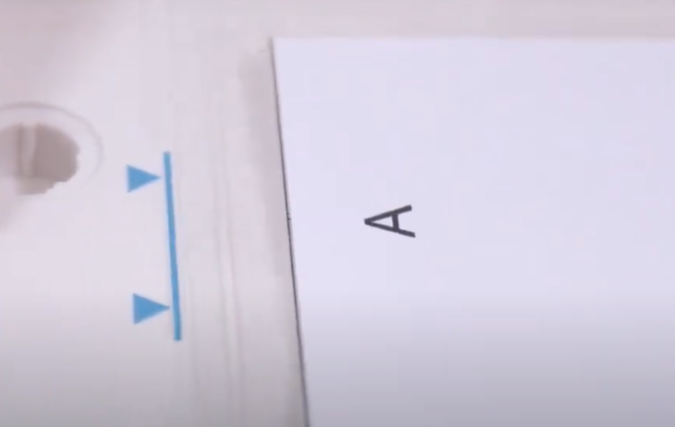
Step 10: Load the mat with the printed paper, aligning it with the blue guideline on the machine.
Step 11: Press the Load cut mat option on the Silhouette Cameo 3 LCD panel.
Step 12: Now, you can go ahead and begin the calibration.

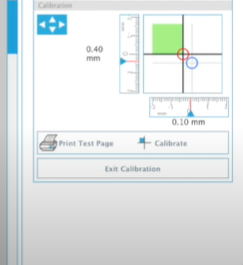
Step 13: Use the move tools on your machine to move the blade up, down, left, and right.

Step 14: Do this to make sure that you align the sheet perfectly within those virtual green squares.
Step 15: Once you’re done with this, go ahead and hit the “Calibrate Button“ on your computer.
Step 16: This will read those four registration marks in that cross.
Step 17: After that, it will go ahead and cut somewhere on your test page (hopefully on those black lines).
Step 18: After the first calibration cut, repeat the process for all required calibrations until completed.
Pro Tip: If your cuts are still off, use a ruler to measure how far the cut is from the printed black cross. Compare this difference with what you see on the screen. Take one of your calibration cuts, measure the gap, and adjust the settings accordingly until the design matches the cut.
Step 19: On your computer screen, click on Exit Calibration, and it will save the changes.
In Conclusion
That’s all you need to calibrate your “Silhouette Cameo 3 Machine“. Make sure to follow the above steps correctly to avoid mistakes. Before you begin, confirm the machine is connected to your computer, the blade is sharp, and print settings are correct. Also, ensure the correct cutting mat or material is properly loaded.
Frequently Asked Question (FAQs)
How to Choose Correct Silhouette Cameo Mats?
It’s very simple to choose the right “Silhouette cutting mats” as you must ensure that it fits most of the craft plotters and keep the material in its place. Check that the mat isn’t too old with strong adhesive, which can grab any material while creating the craft. Moreover, the mat must fulfil the users’ expected needs. Other than that, cross-check whether your machine will support the mat or not.
How to Make Silhouette Cutting Mat Sticky Again?
To make the Silhouette Cameo mat sticky again, follow these steps:
- Clean the mat by removing all the debris from each corner of the mat with different options.
- After the mat gets cleaned up, remove the edges, preparing the mat for applying new adhesive.
- However, you can use masking or blue painter’s tape to prepare the outer border.
- Take the adhesive and apply it slowly with soft hands without shivering.
- After pouring the adhesive over the mat, let it dry for 10-15 mins.
How to Maintain a Silhouette Cameo?
Learn how to maintain the silhouette machine, you need a can of compressed air to remove all the debris. Also, cleans the areas & fibers you can’t reach. Wiping down with a dry cloth can also remove the debris. Finally, closing the Cameo lid when idle also helps keep it free from dirt.